Drying apples in an air fryer is a smart way to enjoy a healthy snack that’s both crisp and naturally sweet. Many people think of the air fryer as a tool for quick, crispy fries or chicken, but it’s also perfect for making dried fruit at home.
If you have a few apples and an air fryer, you can turn them into chewy or crunchy dried apple slices in just a few hours. This guide will show you step-by-step how to dry apples in your air fryer, with tips that even beginners can follow easily.
You’ll also learn why this method is better than many traditional ways, and how to get the best flavor and texture every time.
Why Dry Apples In An Air Fryer?
Drying apples has long been a way to save fruit for later. Traditionally, people used ovens or even the sun, but these can take a lot of time or space. The air fryer changes this. It uses hot air to remove moisture quickly and evenly, making it faster and easier than old methods.
Here are some reasons why many people now use air fryers for drying apples:
- Speed: Drying apples in an air fryer usually takes just 1–3 hours, compared to 6–12 hours in a regular oven or dehydrator.
- Energy Efficiency: Air fryers use less electricity than ovens. Over time, this can save money.
- Space Saving: No need for large dehydrators or trays—just your air fryer basket.
- Better Texture: Air fryers can make apples either chewy or crispy, depending on your preference.
Many beginners do not realize that the air fryer’s fan also helps keep the temperature steady, which is important for even drying.
Choosing The Right Apples
Not every apple is the same when it comes to drying. The type of apple you pick will affect the taste, sweetness, and texture of your dried apples. Some apples are more tart, some are sweeter, and some have firmer flesh that holds up better during drying.
Here’s a quick comparison of popular apple varieties for drying:
| Apple Variety | Taste | Texture After Drying |
|---|---|---|
| Fuji | Sweet, crisp | Chewy, holds shape |
| Granny Smith | Tart, crisp | Crispy, tangy |
| Honeycrisp | Sweet-tart, juicy | Slightly chewy |
| Gala | Sweet, mild | Softer, more delicate |
| Red Delicious | Sweet, mild | Can get mushy |
Tip: For the best results, choose apples that are firm and crisp. Avoid apples that are very soft or mealy—they may not dry well.
Preparing Apples For Drying
Before you start, gather your supplies:
- Apples (2–4 medium apples fit most air fryers)
- Lemon juice (optional, prevents browning)
- Sharp knife or mandoline (for slicing)
- Cutting board
Step 1: Wash And Core
Always wash your apples to remove dirt or pesticides. You can peel them if you like, but leaving the skin on adds extra fiber and color.
Next, remove the core. An apple corer makes this quick, but a small knife works too.
Step 2: Slice Evenly
Slice the apples into thin, even pieces—about 1/8 to 1/4 inch thick. Thinner slices dry faster and more evenly. If you want crispy chips, go thinner.
Non-obvious insight: Many people slice apples too thick, which leads to uneven drying and chewy centers. Uniform thickness is key for perfect results.
Step 3: Soak (optional)
To keep the apples from turning brown, soak the slices in a bowl of water with a splash of lemon juice for 3–5 minutes. This step is optional but makes the finished slices look better.
Step 4: Dry The Slices
Pat apple slices dry with a clean towel. Moisture on the surface can slow down the drying process.
How To Dry Apples In The Air Fryer
Now you’re ready to start drying. Here’s how to get the best results:
Step 1: Preheat The Air Fryer
Set your air fryer to 135°F to 150°F (57°C to 65°C), if possible. Some models do not go this low, so use the lowest setting (often 170°F or 180°F) if needed.
Why low temperature? Drying at a lower temperature helps apples keep their color and flavor, and avoids burning or over-crisping.
Step 2: Arrange The Slices
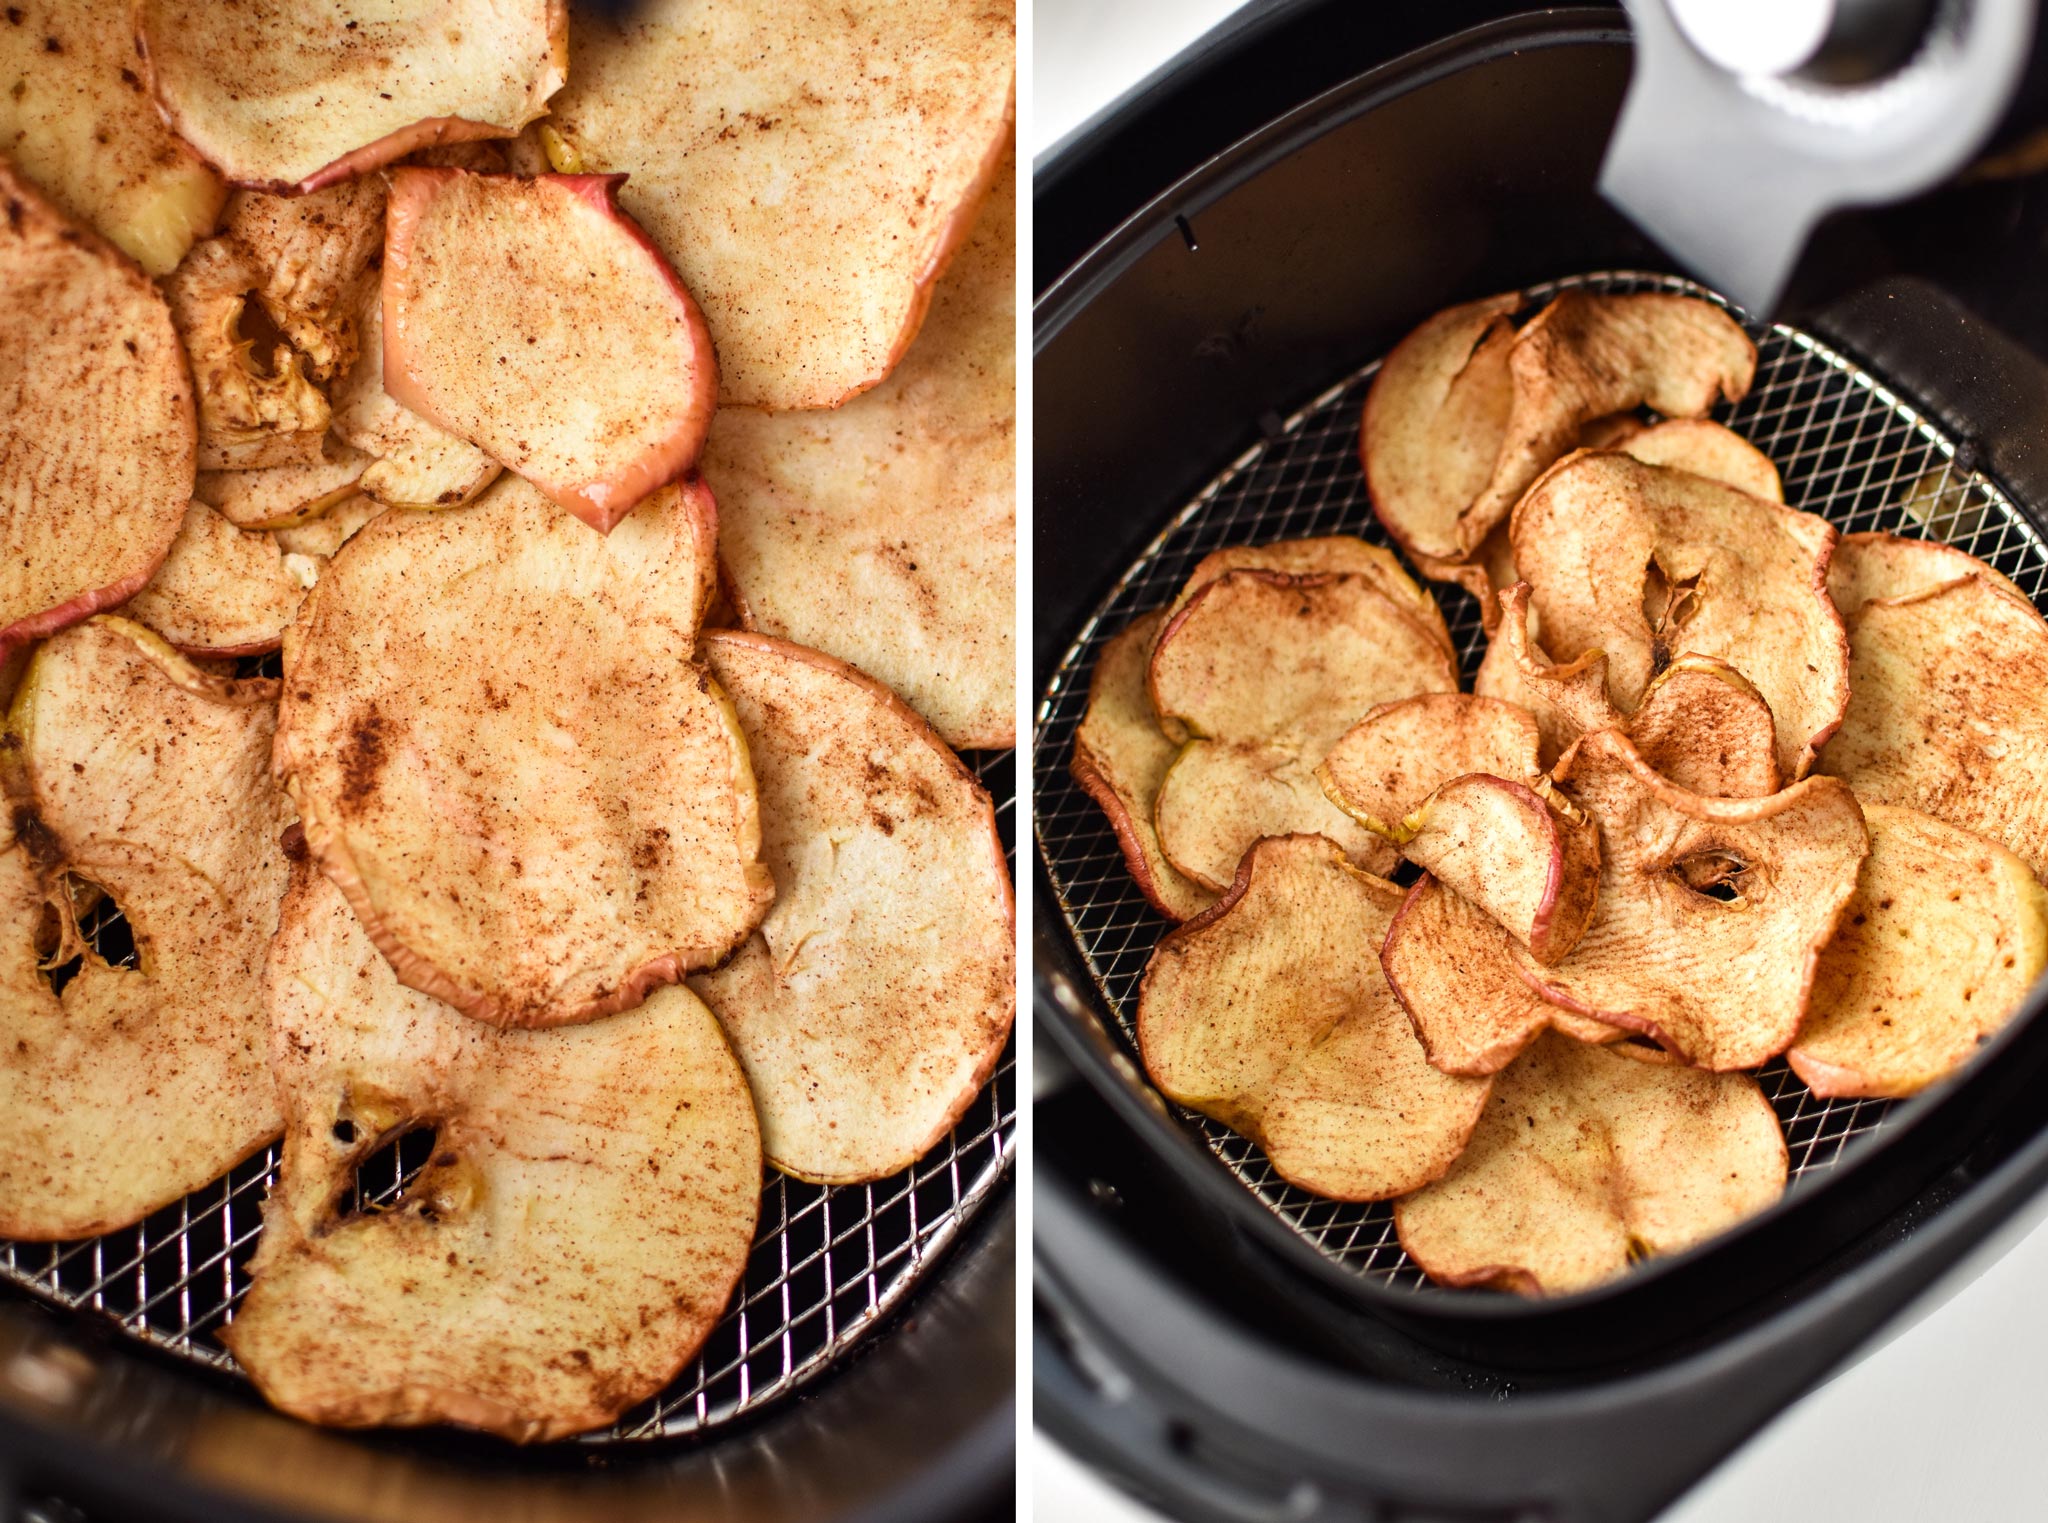
Lay the apple slices in a single layer in the air fryer basket or on the tray. Try not to overlap—overlapping causes uneven drying.
Non-obvious insight: Most air fryers dry better in small batches. Crowding the basket leads to soggy or uneven slices.
Step 3: Set The Time
For thin slices at 135°F to 150°F:
- Chewy apples: 1.5 to 2 hours
- Crispy chips: 2.5 to 3 hours
For higher temperatures (170°F or 180°F), check after 1 hour, then every 15–20 minutes. High heat can dry apples faster but watch closely to avoid burning.
Step 4: Flip And Rotate
Halfway through drying, open the basket and flip the slices over. If your air fryer has hot spots, also rotate the basket or tray. This ensures even drying on all sides.
Step 5: Check For Doneness
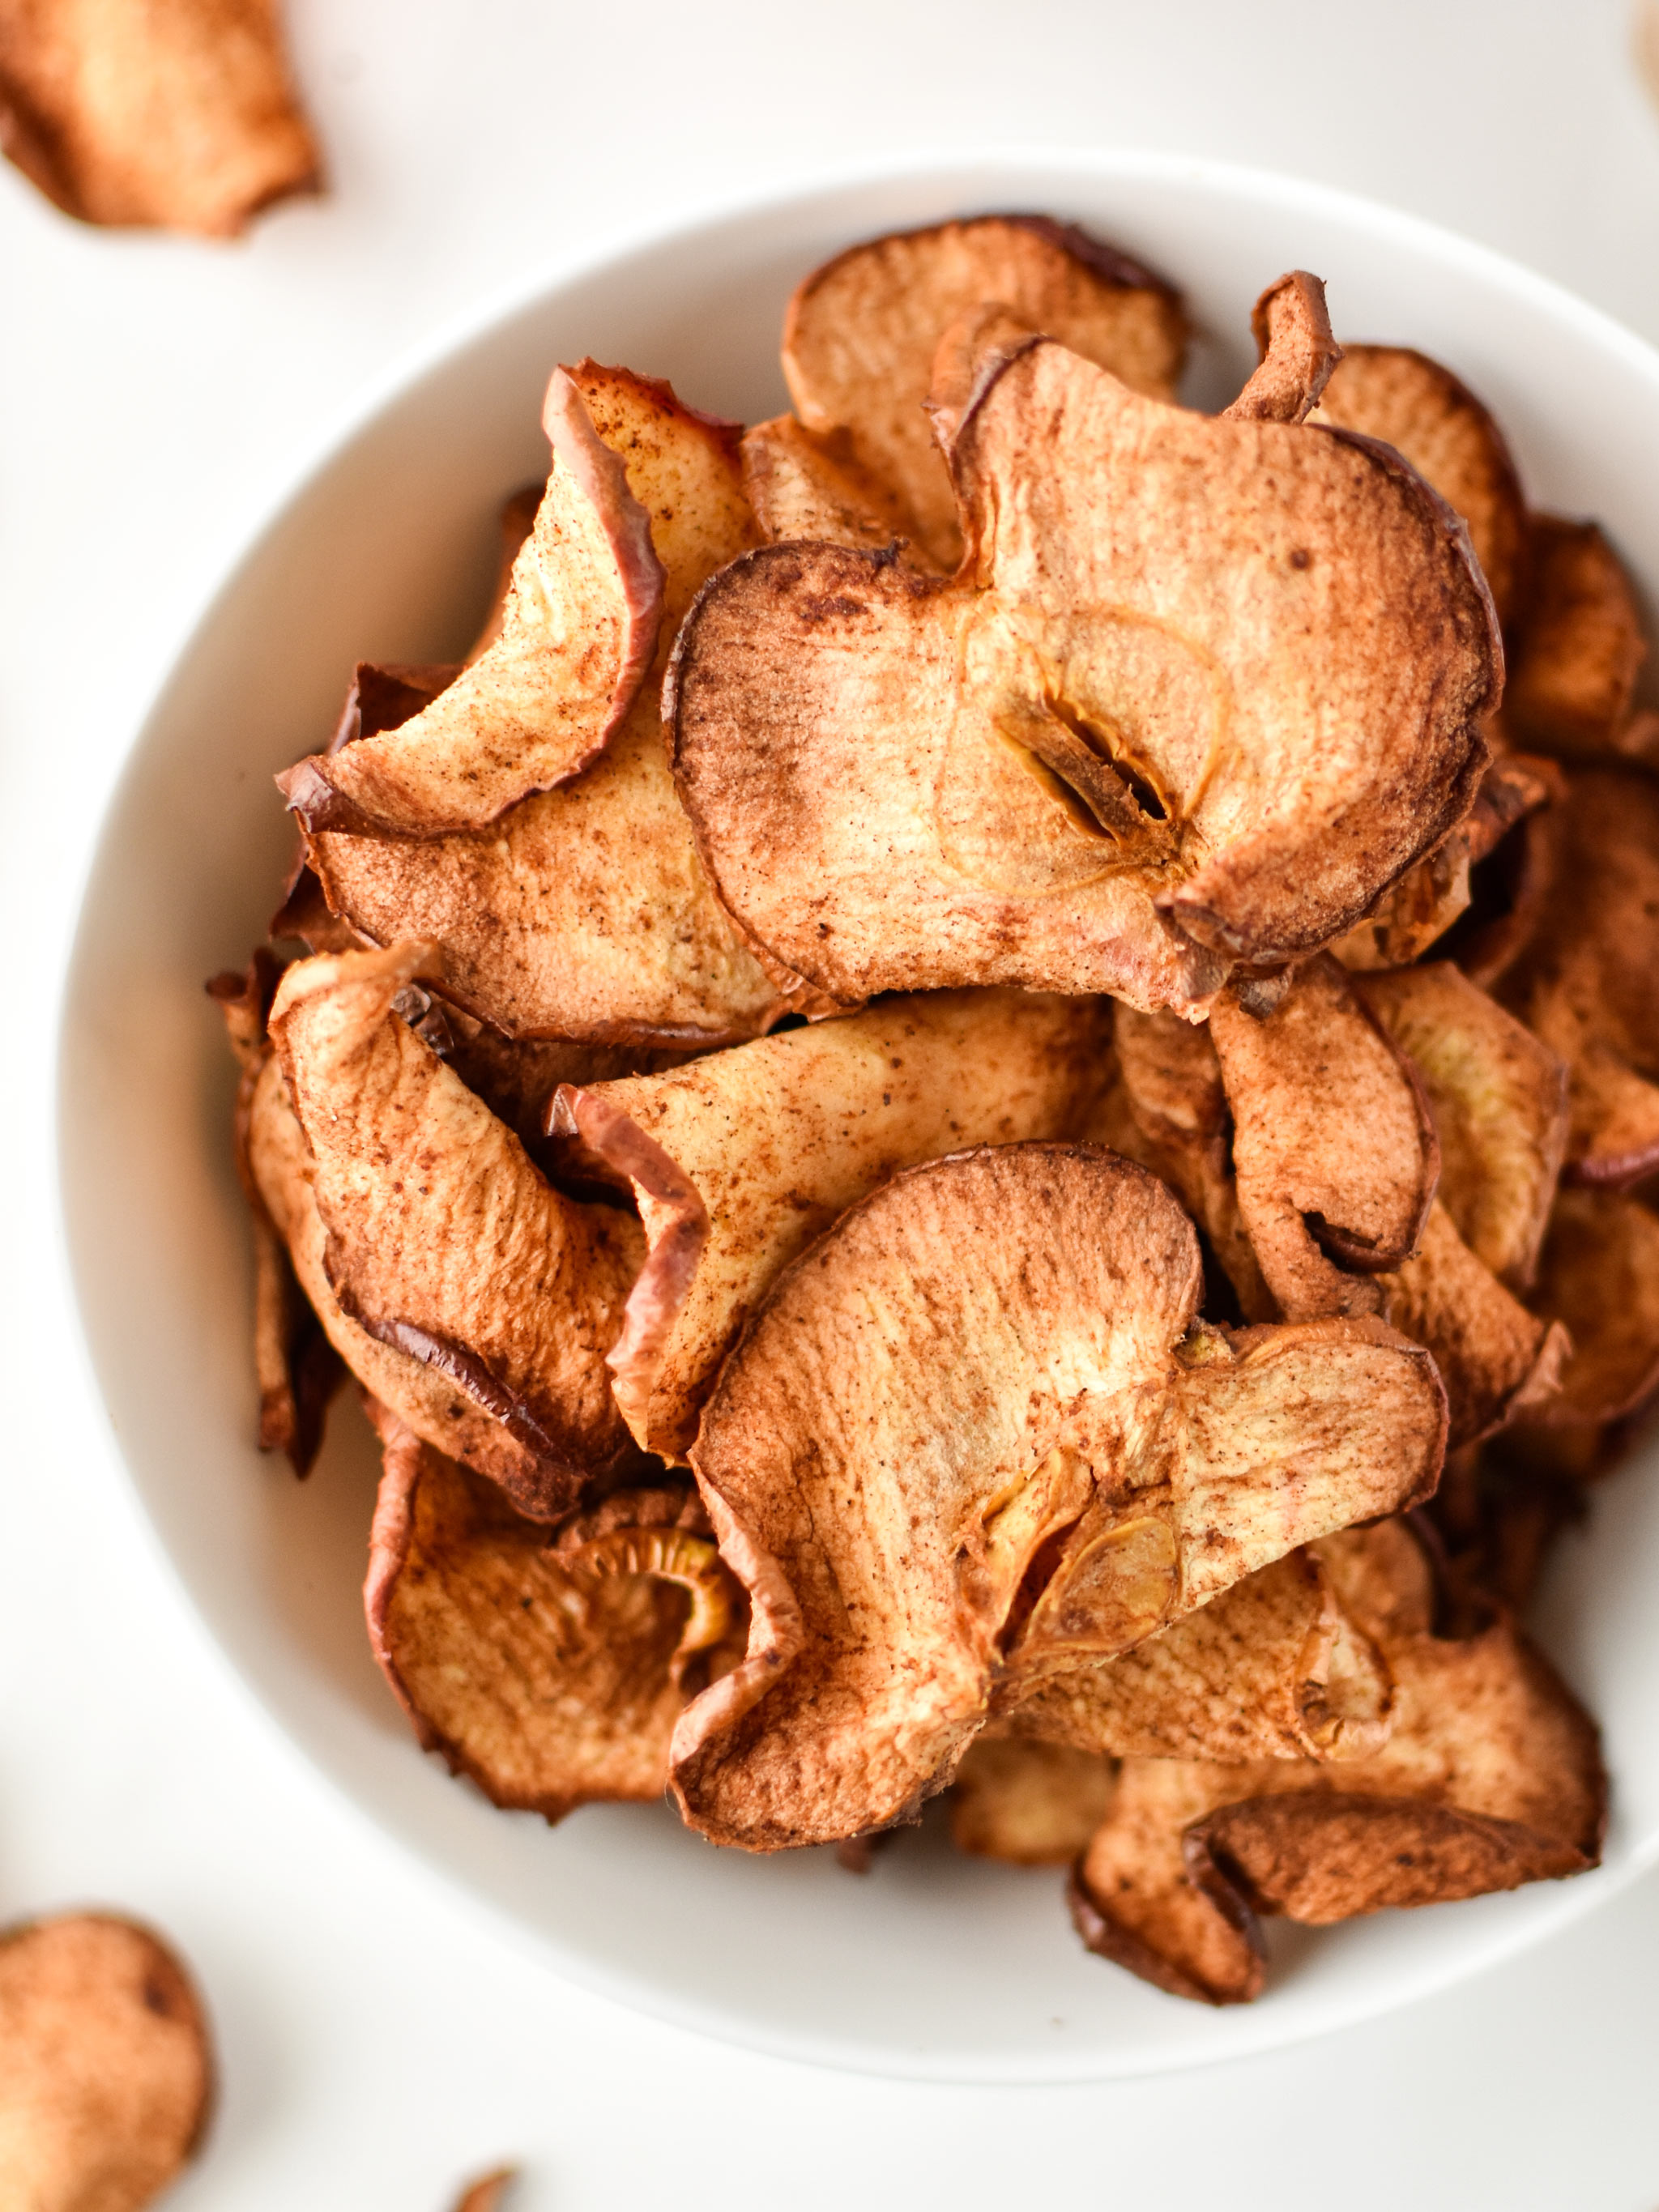
Dried apples are ready when they feel leathery and bend without breaking (for chewy) or snap cleanly (for crispy). If they feel sticky, give them more time.
Step 6: Cool Before Storing
Let the dried apples cool in the basket for 10–15 minutes. This helps them firm up and prevents moisture buildup in storage.
Credit: projectmealplan.com
Flavor Variations And Creative Additions
Plain dried apples are tasty, but you can add extra flavor before drying. Sprinkle slices with:
- Cinnamon for a classic taste
- Pumpkin spice for fall vibes
- A touch of sugar for extra sweetness (if your apples are tart)
- Ginger powder for a unique kick
For a sweet and tart flavor, dust with a mix of cinnamon and a small pinch of salt.
Storing Dried Apples
Dried apples can last for weeks or months if stored the right way. The key is to keep out moisture and air.
Here’s a comparison of popular storage methods:
| Storage Method | Typical Shelf Life | Best For |
|---|---|---|
| Sealed bag (room temp) | 1–2 weeks | Quick snacking |
| Glass jar with tight lid | 3–4 weeks | Pantry storage |
| Freezer-safe bag | Up to 6 months | Long-term storage |
Tip: For extra protection, add a food-safe desiccant packet to your storage jar. This absorbs any leftover moisture and keeps apples from getting soft.
Common Mistakes To Avoid
Drying apples in the air fryer is simple, but a few common errors can ruin the batch. Watch out for these:
- Overlapping slices: This blocks airflow and creates unevenly dried apples.
- Using too high a temperature: Apples can burn or turn bitter if dried at high heat.
- Skipping flipping: Not turning the slices can cause one side to get too dry while the other stays wet.
- Not cooling before storage: Warm apples can trap steam in containers, leading to mold.
- Not drying enough: Apples that feel sticky or soft will spoil faster.
Nutritional Benefits Of Dried Apples
Dried apples are more than just a tasty snack—they pack real nutrition. When you dry apples, you remove water but keep most vitamins and minerals. Here’s what you get from a 1-ounce (28g) serving of dried apples:
- About 70–80 calories
- 2 grams fiber
- No fat
- Vitamins C, A, and potassium
However, drying does reduce vitamin C a little because it’s sensitive to heat. Still, dried apples have less sugar than most commercial snacks and no unhealthy fats.
How Air Fryer Drying Compares To Other Methods
You may wonder if it’s better to use an oven, a food dehydrator, or the air fryer. Each method has pros and cons.
| Method | Time Needed | Energy Use | Flavor/Texture |
|---|---|---|---|
| Air Fryer | 1–3 hours | Low | Chewy or crispy |
| Oven | 6–12 hours | High | Softer, less crisp |
| Dehydrator | 6–10 hours | Low | Chewy, consistent |
| Sun Drying | Several days | None | Variable, less safe |
The air fryer is a clear winner for most home cooks. It’s fast, energy-efficient, and easy to clean up. Plus, you can experiment with small batches before making more.
Ways To Use Dried Apples
Once you’ve made your dried apples, there are many tasty ways to enjoy them:
- Eat as a snack on their own
- Add to oatmeal or granola
- Mix into trail mix with nuts and seeds
- Use as a topping for salads
- Bake into muffins or breads
- Rehydrate in warm water to use in pies or sauces
Dried apples are also a great lunchbox treat for kids, since they’re sweet and don’t get messy.
Credit: projectmealplan.com
Frequently Asked Questions
How Do I Know When Dried Apples Are Done In The Air Fryer?
Dried apples should feel leathery and dry to the touch. For chewy slices, they should bend without breaking. For crispy chips, they should snap when broken. If they are still sticky or wet, give them more time.
Can I Dry Other Fruits The Same Way?
Yes! Most fruits, like pears, peaches, or bananas, can be dried in the air fryer. Adjust the time based on thickness and water content. Some fruits may need a bit more time or a higher temperature.
Are Air Fryer Dried Apples Healthier Than Store-bought?
Usually, yes. Homemade dried apples often have no added sugar or preservatives. Commercial dried fruit can have extra sugars, sulfites, or oils. Always check the label if buying from the store. For more on dried fruit nutrition, see Harvard’s Nutrition Source.
How Long Can I Store Dried Apples?
If stored in a sealed container at room temperature, dried apples last about 2–4 weeks. For longer storage, keep them in the freezer for up to 6 months. Always check for mold or off smells before eating.
My Apples Turned Out Chewy, Not Crisp. What Went Wrong?
Chewy apples are common if slices are thick or not dried long enough. For crispiness, slice apples thin (about 1/8 inch) and dry them a bit longer. Also, make sure slices are not overlapping in the basket.
Drying apples in your air fryer is easy and rewarding. With a little practice, you’ll have a delicious, healthy snack ready whenever you want. Try different apple types, flavors, and uses to find your favorite way to enjoy this simple treat.

Kitchen Gear Space covers the engineering side of countertop cooking appliances — power draw, circuit loading, and why these machines fail. How we evaluate